Detecting and Extracting Hand-written text
Acknowledgement All of this was taught to me by my MA student, Jeff Blackadar.
Computer Vision
In recent years, computer vision technologies have been improving in leaps and bounds. There are a couple of approaches to teaching the computer to ‘see’ objects or things of interest in our photographs. The literature is voluminous, so I’m just going to give you the 30 second elevator pitch version.
With supervised learning we carefully mark up an image with bounding boxes (squares) and manually tag each box with labels describing what’s in the box. The computer learns to associate patterns of pixels in the box with the relevant label. We can get a little bit less strict by collecting thousands of images where the thing-of-interest is the main thing in the picture - a cropped pic of a kitten - and then exposing the image to a neural network.
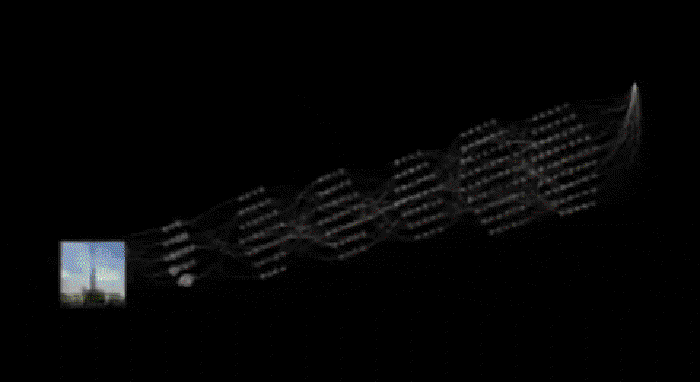
A neural network is a bit like a series of connected filters. Each filter is set up to allow different sized particles pass through the mesh to the next layer. Except, in our case, each ‘filter’ is a mathematical function that responds to the presence or absence of data in a limited area of the image. If there is data, it ‘fires’ and the next layer responds to whether or not it received data from the previous layer. We progress through the layers, and at the end of it, we have a pattern of lit-up neurons that represents the visual imagery data. If we expose the network to a picture of a kitten, we take the resulting pattern as indicative of ‘kittenosity’. Then when the network encounters a new picture - say one of those little dogs that fit in a purse - it will light up in a subtley different way, enabling us to say, ‘this picture is only 65% likely to be a kitten’.
So - in the first approach, a kitten is either in the picture, or it is not. In the second approach, we can get degrees of fuzziness of whether or not a picture contains a kitten. This is important, because it enables the machine to make guesses.
Optical Character Recognition (OCR)
The history of optical character recognition is fascinating, and you could do worse than starting with the Wikipedia to learn more about it. It is in fact quite an old digital technology, and initially at least worked by pattern matching, one letter at a time, one font at a time. If you’ve taken (or will take) my Crafting Digital History course you’ll learn one way of doing OCR using the Tesseract engine. It works reasonably well on typewritten materials, and this is no accident. A lot of the early business cases for OCR came out of eg legal firms that needed to make a lot of cleanly-written text available electronically. (Incidentally, this also accounts for why digital newspaper searches are rather dodgy, see Milligan 2012 Illusionary Order: Cautionary Notes for Online Newspapers).
But what about handwriting? Handwriting is enormously personal, and as you’ve seen in class, my own chicken-scratches are nigh-on impossible to read. Even I have trouble reading my own notes. How can we possibly get a machine to do it? The answer is…. neural networks. The Transkribus project has produced a platform that allows you to import handwritten documents and carefully mark up the lines of text with your own expert transcription so that the computer learns to ‘read’ the material! As more people use the system, the system learns more handwriting variants from across the ages - medieval Latin, Arabic; other kinds of writing systems, other eras. It’s a very cool project, and I believe Professor Saurette is using it in his medieval history class. And in the end, you also get a degree of confidence in the transcription (those ‘guesses’ I mentioned above).
But for us, there are some problems. Transkribus depends on having an awful lot of carefully, expertly, transcribed data before it can be trained. We don’t have that much time.
A shortcut
You could load some of your museum materials into Transkribus and see what happens; it might be that some of its existing models of handwriting work for us already (this might be true of cursive handwriting). Another option is to use a pretrained model and someone else’s computing power to recognize and extract the handwritten text in our documents. In this case, we can take an image, feed it into the Microsoft Azure platform, and get the result back virtually instantaneously.
Part one: Getting Signed up with Azure.
- Sign up for Microsoft Azure. The link goes to the ‘free’ usage tier. It will require a credit card for verification but nothing we’re doing should incur a cost.
- Once you’ve jumped through all of those hoops and you’re signed in, go to portal.azure.com. It will look like this:
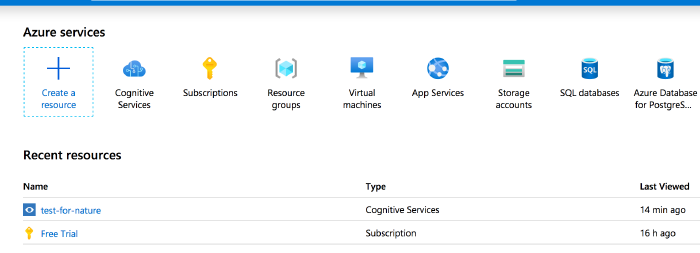
The Azure portal. Under ‘recent resources - name’ yours will only say ‘Free Tier’ for now. - We’re now going to create a ‘service’ that will allow us to feed images to their machine and get text back. You will want to click on ‘cognitive services’.
- Click on ‘add new resource’:
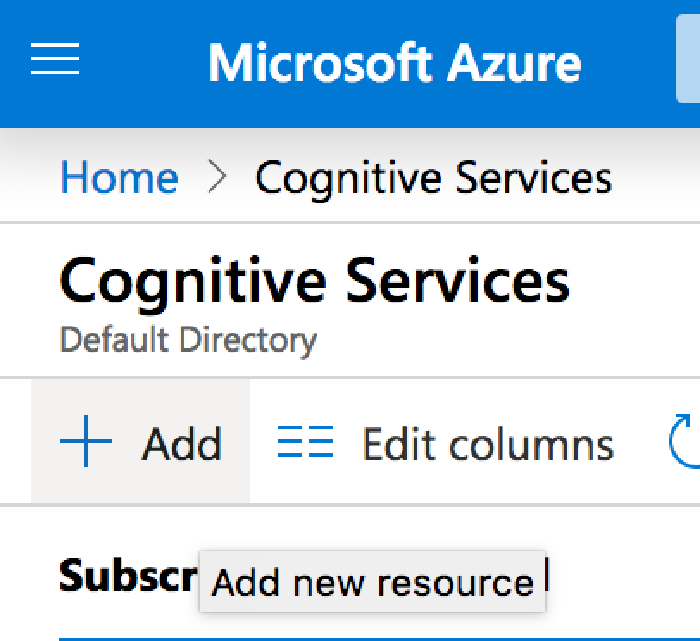
Click the ‘add’ button, which will take you to the ‘marketplace’. - You will then search the market place for ‘computer vision’; select ‘computer vision’ and on the next screen hit ‘create’:

This is the one you want. 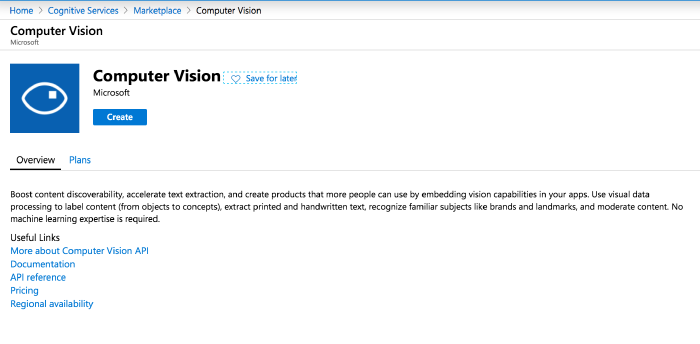
Hit the ‘create’ button. - Fill in this form as I’ve done below. Make sure ‘subscription’ says ‘Free Trial’ and under the ‘Pricing Tier’ drop down arrow select F0.
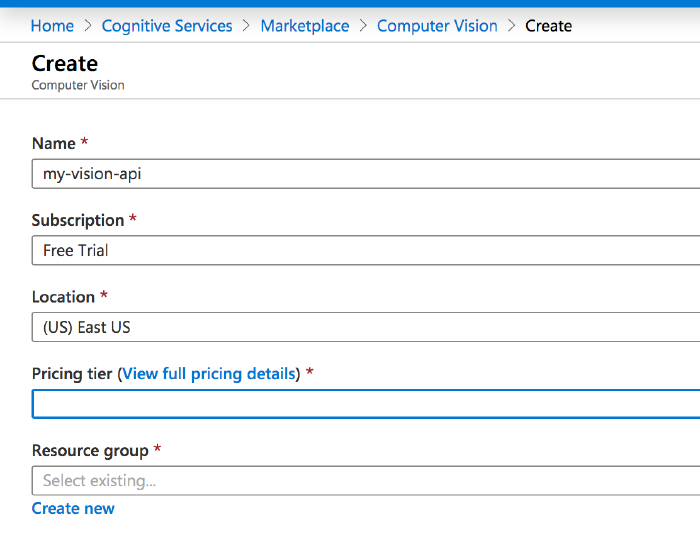
Crucial: Subscription should be ‘Free Trial’ and Pricing tier should be ‘FO’. - Now, you have access to this service from your portal (where it will be listed under ‘recent resources’). The service when you’re on it looks like this:
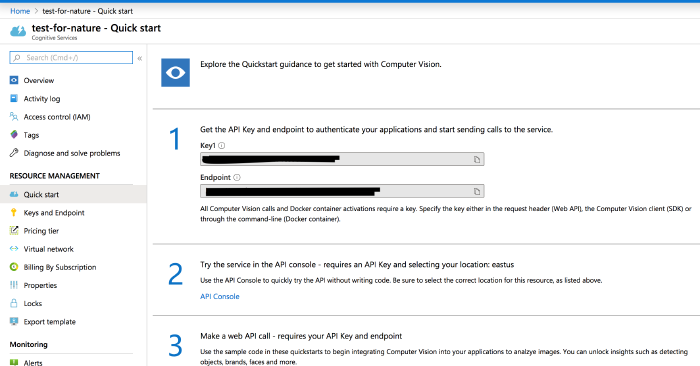
Mine is called ‘test-for-nature’. 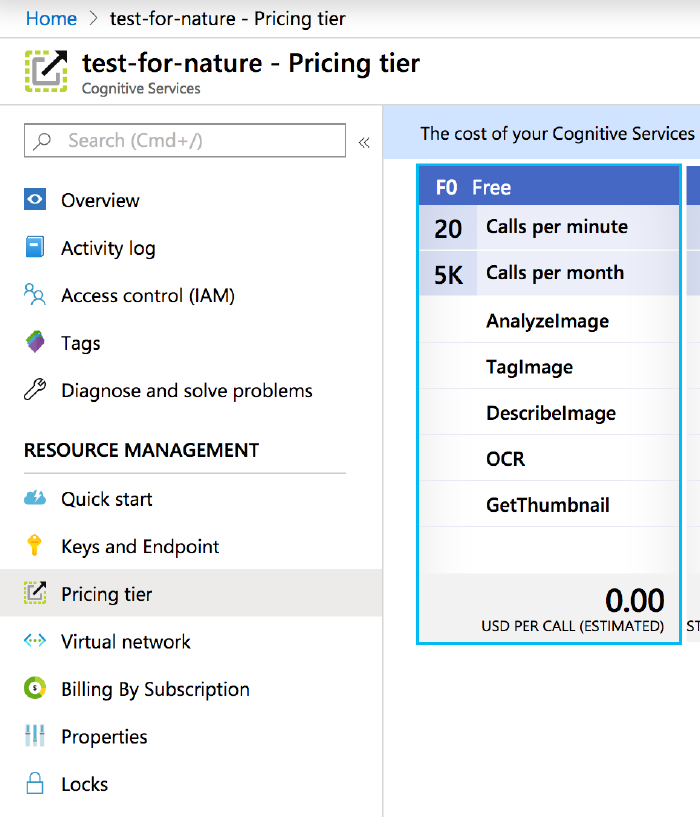
Here we have the free tier enabled. 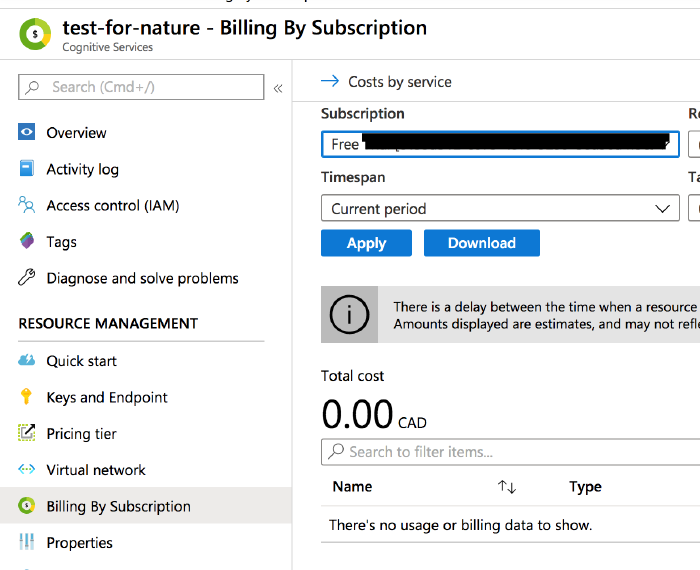
and so far it hasn’t costed me anything.
Part Two: Writing a Command to Extract Handwriting
The next part takes place in a virtual computer made available to us via Google. Go to this code notebook and read through it carefully, following all instructions.
You don’t have to do this but, you can run this from your own computer too if you wanted; easiest way to do that would be to install anaconda, start up a notebook environment, download my notebook, and run it on your machine.
My notebook contains all of the python code to load an image up, send it to the Azure service you’ve created, and retrieve the text that it ‘sees’. Good luck!
